Prep Time: 25 minutes
Cook Time: 10 minutes
Processing Time: 10 minutes (water bath)
Total Time: 45 minutes
Difficulty: Easy
Intensity Level: Low–Moderate (requires hot water handling and careful jar sterilization)
Introduction
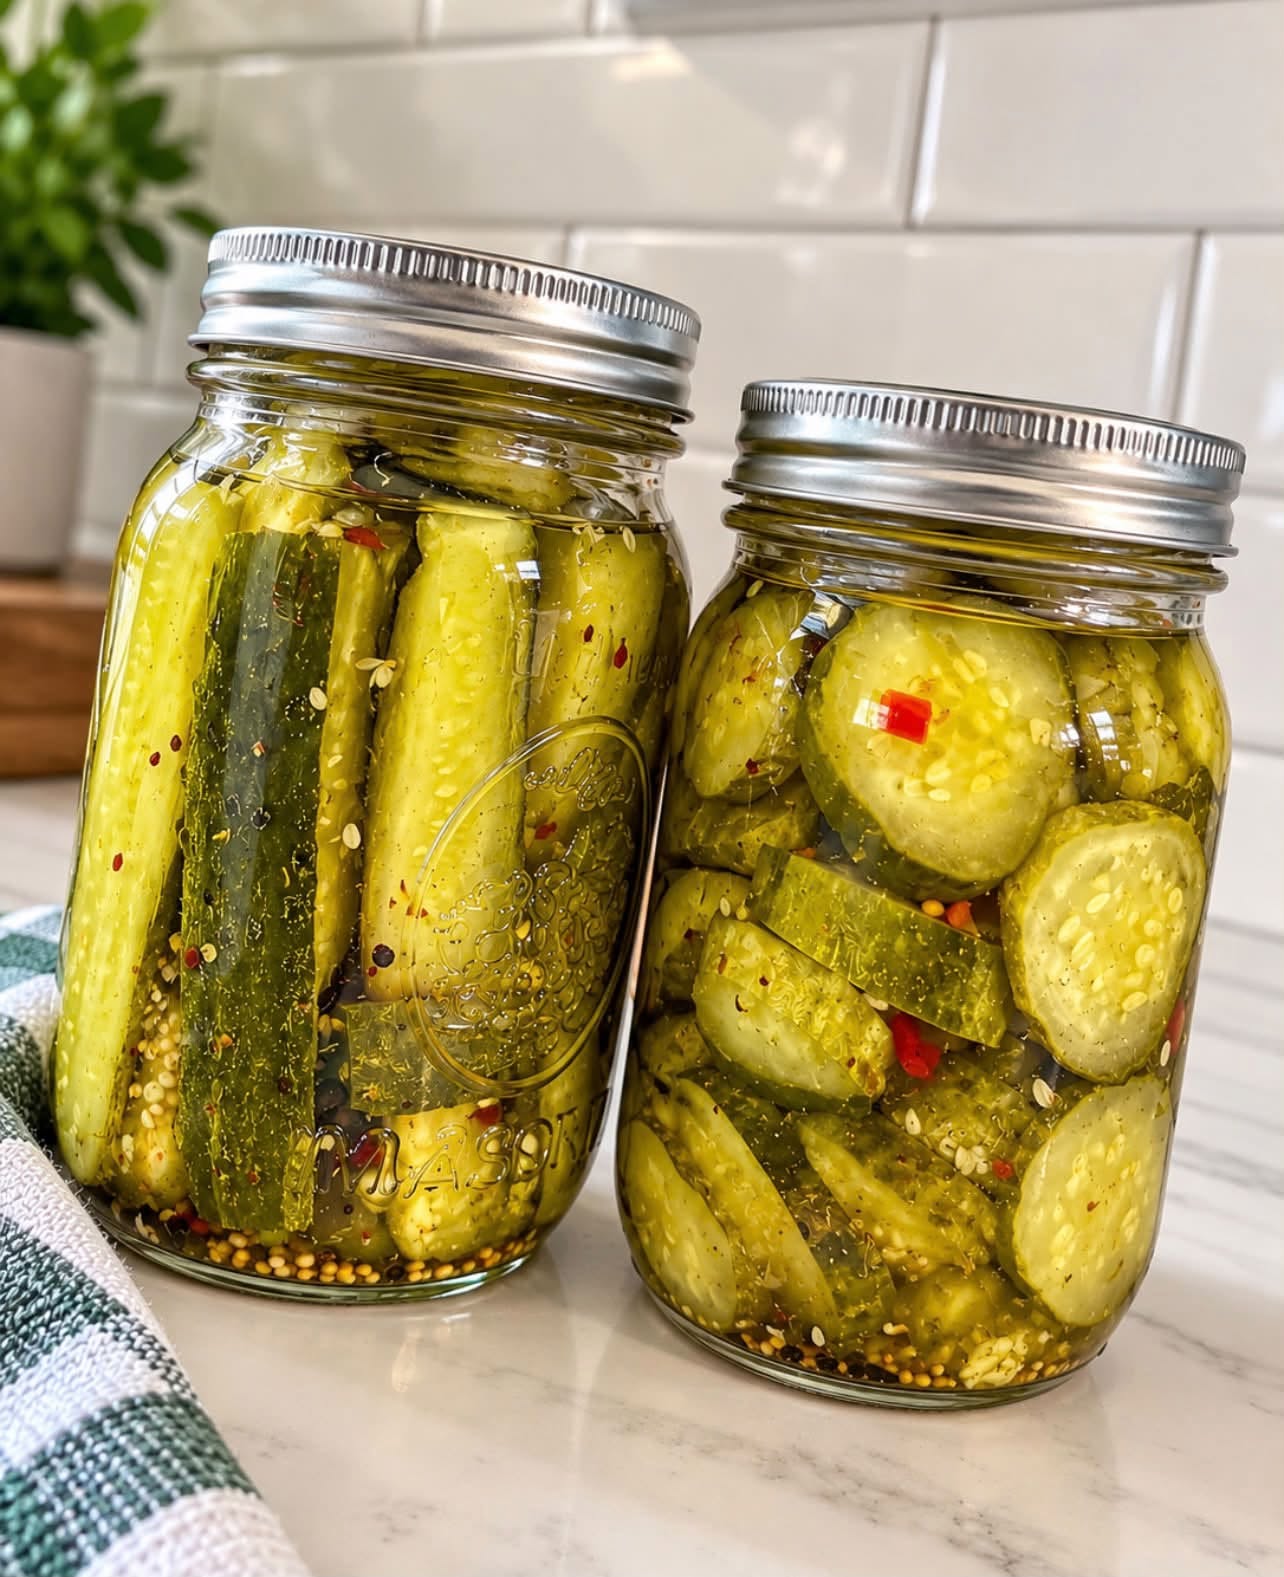
There’s nothing quite like the crunch of a homemade pickle. These Spicy Garlic Dill Pickles strike the perfect balance between tangy, garlicky, and fiery, with a fresh dill backbone that makes them irresistible. Whether you’re piling them onto burgers, chopping them into potato salad, or eating them straight from the jar, this recipe delivers bold flavor with a satisfying snap. Best of all, it uses a simple brine and a quick water-bath process, making it approachable even for first-time canners. If you love pickles with a kick, this is your new go-to recipe.
Ingredients
For the Jars
-
3½ lbs (1.6 kg) small pickling cucumbers (Kirby or Persian), washed and trimmed
-
4 cups (960 ml) water
-
4 cups (960 ml) white vinegar (5% acidity)
-
¼ cup (50 g) pickling salt (do not substitute table salt)
-
2 tbsp (25 g) granulated sugar (optional, balances acidity)
-
8–12 garlic cloves, peeled and smashed
-
8–12 small dried red chili peppers (or 4 tsp red pepper flakes)
-
4 tsp black peppercorns
-
4 tsp mustard seeds
-
4 tsp dill seeds
-
8 fresh dill sprigs (or 4 heads fresh dill)
-
4 grape leaves or 2 tsp tannin powder (optional, for extra crunch)
Optional Heat Adjustments
-
Mild: 1 chili per jar
-
Medium: 2 chilis per jar
-
Hot: 3 chilis per jar plus ½ tsp cayenne per jar
Equipment
-
4 clean pint (500 ml) mason jars with lids and rings
-
Large stockpot or water-bath canner
-
Jar lifter and canning funnel
-
Small saucepan for brine
-
Clean kitchen towels
-
Sharp knife and cutting board
Instructions
Step 1: Sterilize the Jars (10 minutes)
Fill your water-bath canner or large stockpot halfway with water and bring it to a rolling boil. Submerge the clean jars and lids for 10 minutes to sterilize. Keep them hot until ready to fill. If you’re not water-bath canning, wash jars in hot soapy water and keep them warm in a 200°F (93°C) oven.
Intensity: Low — just monitor the boiling water.
Step 2: Prepare the Cucumbers (10 minutes)
Wash cucumbers thoroughly and trim a thin slice off the blossom end (this removes enzymes that can cause softening). Leave small cucumbers whole; halve or quarter larger ones lengthwise. For maximum crunch, soak cucumbers in ice water for 1–2 hours before pickling (optional but recommended).
Intensity: Low.
Step 3: Make the Brine (10 minutes)
In a medium saucepan, combine water, vinegar, pickling salt, and sugar. Bring to a boil over medium-high heat, stirring until salt and sugar dissolve completely. Reduce heat and keep hot.
Intensity: Low–Moderate — watch for boilovers.
Step 4: Pack the Jars (10 minutes)
Working with one hot jar at a time, place the following at the bottom of each jar:
-
2–3 garlic cloves
-
2–3 dried chilis (adjust to your heat preference)
-
1 tsp black peppercorns
-
1 tsp mustard seeds
-
1 tsp dill seeds
-
1 grape leaf (if using)
Pack cucumbers tightly into the jars, standing them upright for a neat arrangement. Tuck 2 fresh dill sprigs (or 1 dill head) among the cucumbers. Leave ½ inch (1.25 cm) of headspace at the top.
Intensity: Moderate — jars are hot; use a towel or jar holder.
Step 5: Add the Brine (5 minutes)
Using a canning funnel, pour the hot brine over the cucumbers, covering them completely while maintaining ½ inch of headspace. Use a plastic chopstick or bubble remover to release trapped air bubbles. Wipe jar rims with a clean, damp cloth, then seal with lids and rings (finger-tight only).
Intensity: Moderate — hot liquid handling.
Step 6: Water-Bath Process (10 minutes)
Place filled jars into the boiling water canner, ensuring they are fully submerged with at least 1 inch of water above the lids. Process for 10 minutes (adjust for altitude: add 5 minutes for every 1,000 ft above sea level). Start timing once the water returns to a rolling boil.
Intensity: Moderate — lifting jars and maintaining a boil.
Step 7: Cool and Store (24–48 hours)
Using a jar lifter, transfer jars to a towel-lined surface. Let them cool undisturbed for 12–24 hours. You’ll hear a satisfying “pop” as the lids seal. Check seals by pressing the center of each lid — it should not flex. Refrigerate any unsealed jars and use within 3 weeks.
Intensity: Low.
Step 8: Wait (The Hardest Part)
For the best flavor, let the pickles cure in a cool, dark place for 2–4 weeks before opening. This allows the garlic, dill, and chili to fully infuse the cucumbers.
Intensity: Zero — but patience required!
Timing & Intensity Summary
| Stage | Time | Intensity |
|---|---|---|
| Sterilize jars | 10 min | Low |
| Prep cucumbers | 10 min | Low |
| Make brine | 10 min | Low–Moderate |
| Pack jars | 10 min | Moderate |
| Add brine | 5 min | Moderate |
| Water-bath process | 10 min | Moderate |
| Cool & store | 12–24 hrs | Low |
| Cure | 2–4 weeks | None |
Total Active Time: ~45 minutes
Total Hands-Off Time: 2–4 weeks
Recipe Notes
-
Crunch Tip: Grape leaves contain tannins that help keep pickles crisp. If unavailable, add ⅛ tsp tannin powder per jar or simply skip.
-
Salt Matters: Use pickling salt only. Table salt contains anti-caking agents that cloud the brine; kosher salt varies in density.
-
Vinegar: Use 5% acidity white vinegar. Do not dilute.
-
Altitude: Above 1,000 ft? Increase processing time by 5 minutes per 1,000 ft.
-
Storage: Sealed jars keep for 12 months in a cool, dark place. Refrigerate after opening.
Nutrition Information
Serving Size: 1 pickle spear (about 1 oz / 28 g)
Servings Per Recipe: Approximately 32
| Nutrient | Amount |
|---|---|
| Calories | 8 kcal |
| Total Fat | 0 g |
| Saturated Fat | 0 g |
| Trans Fat | 0 g |
| Cholesterol | 0 mg |
| Sodium | 290 mg |
| Total Carbohydrates | 1.5 g |
| Dietary Fiber | 0.4 g |
| Total Sugars | 0.5 g |
| Protein | 0.2 g |
| Vitamin C | 2% DV |
| Calcium | 1% DV |
| Iron | 1% DV |
| Potassium | 30 mg |