-
Preparation Time: 30 minutes
-
Canning / Processing Time: 20 minutes (Pints) / 25 minutes (Quarts)
-
Depressurization & Cooling Time: 45 minutes
-
Total Time: ~1 hour 40 minutes
-
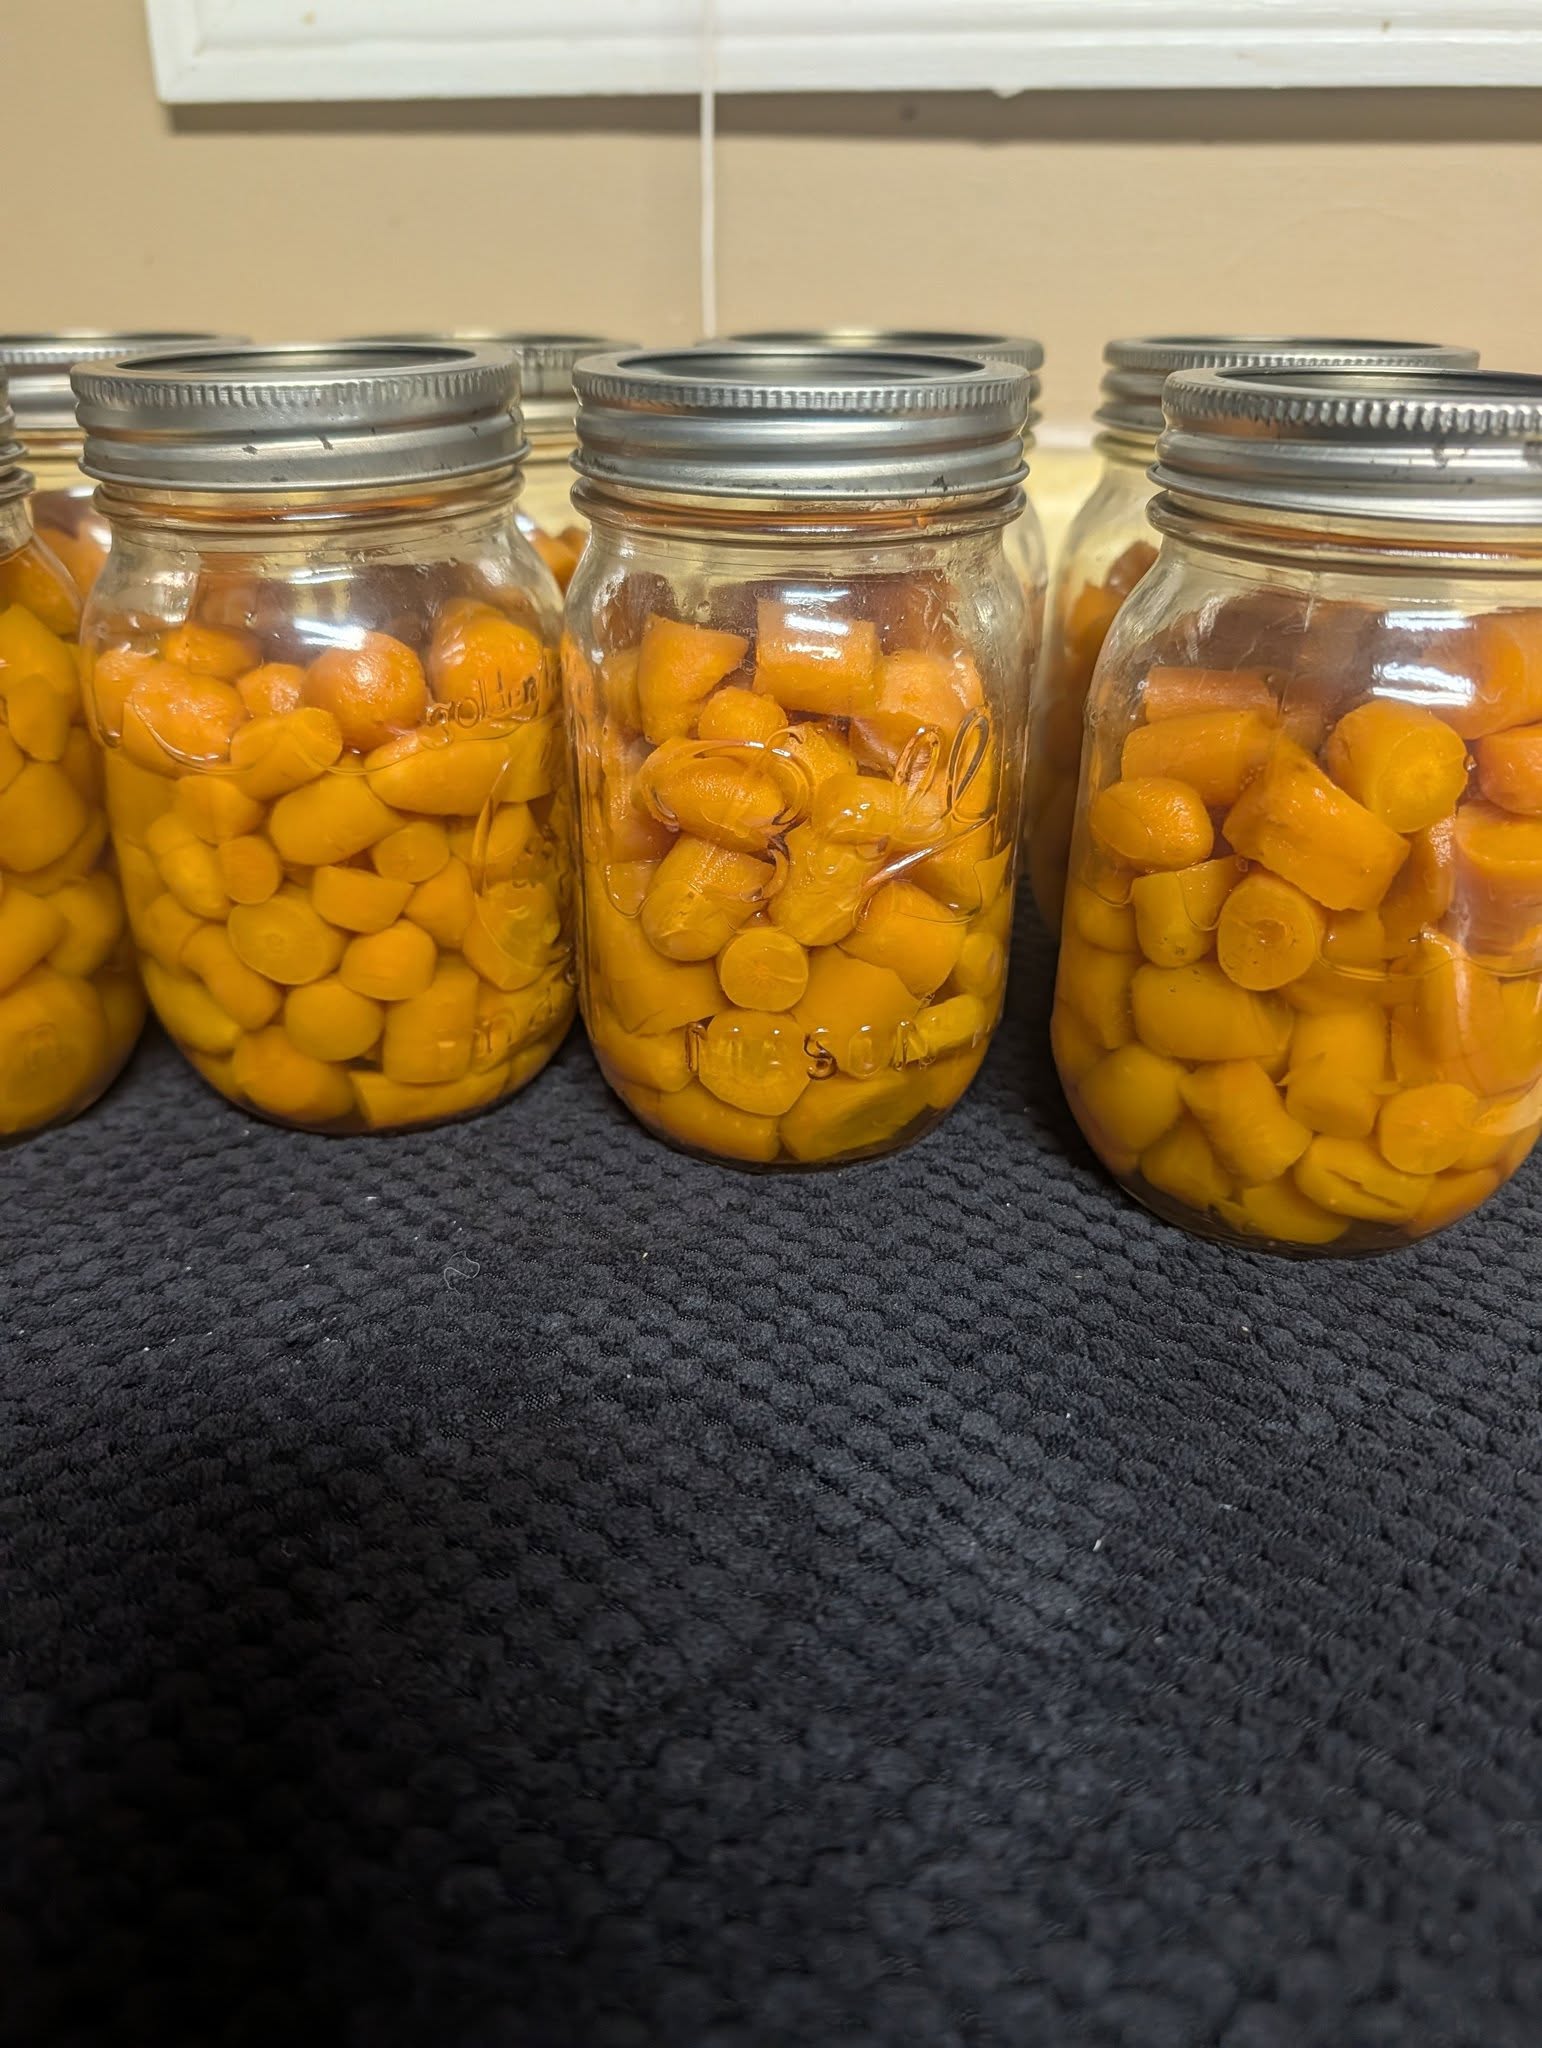
Yield: 9 pint jars (or 4 quart jars)
-
Recipe Level: Intermediate
-
Processing Method: Pressure Canning ONLY (Low-Acid Food)
Technical Specifications & Intensity Levels
Understanding the pressure requirements is critical for safety and optimal texture when canning low-acid produce.
| Parameter | Specification / Target |
| Canning Method | Steam Pressure Canner |
| Jar Size | Pint Jars (16 oz / 473 mL) |
| Headspace | 1 Inch (2.5 cm) |
| Dial Gauge Pressure (0–1,000 ft) | 11 PSI |
| Weighted Gauge Pressure (0–1,000 ft) | 10 PSI |
| Heat Intensity (Processing) | Medium-High (Adjusted to maintain steady pressure) |
| Heat Intensity (Liquid Pre-boil) | High Boiling ($212^\circ\text{F}$ / $100^\circ\text{C}$) |
Note: If live processing at an elevation above 1,000 feet, adjust pressure upwards according to USDA recommendations (e.g., 12–15 PSI depending on gauge type).
Equipment Needed
-
1 Pressure Canner with rack
-
9 Pint mason jars with new lids and bands
-
Jar lifter tongs
-
Canning funnel and bubble remover / headspace tool
-
Large stockpot (for boiling water/brine)
-
Sharp chef’s knife and vegetable peeler
-
Kitchen towels
Ingredients
-
Fresh Carrots: 5 lbs (2.25 kg), topped, peeled, and sliced into $\frac{1}{2}$-inch rounds
-
Canning & Pickling Salt: 4.5 tsp (1/2 tsp per pint jar) — do not use iodized table salt
-
Garlic: 9 small, peeled whole cloves (1 per pint jar, optional)
-
Fresh Thyme Sprigs: 9 small sprigs (1 per pint jar, optional)
-
Boiling Water: Approximately 3 to 4 quarts of filtered hot water
Step-by-Step Canning Instructions
Step 1: Prep and Sanitize Jars
-
Wash jars, lids, and screw bands in warm, soapy water and rinse thoroughly.
-
Place the jar rack in the pressure canner, set jars on top, and add 2 to 3 inches of water into the bottom of the canner.
-
Warm the canner over low heat to preheat the jars. Keep jars warm until ready to pack to prevent thermal shock breakage.
Step 2: Prepare the Carrots
-
Wash carrots thoroughly to remove all remaining soil.
-
Peel the outer skins off using a vegetable peeler.
-
Slice carrots into uniform $\frac{1}{2}$-inch coins (or length-wise spears if preferred). Uniform slices ensure even heat penetration throughout processing.
Step 3: Jar Packing (Raw Pack Method)
-
Remove one warm pint jar at a time from the canner using your jar lifter.
-
Add $\frac{1}{2}$ teaspoon of canning salt, 1 whole garlic clove, and 1 sprig of fresh thyme into the bottom of each pint jar.
-
Pack sliced raw carrots tightly into the jar, leaving a generous 1-inch headspace at the top.
Step 4: Add Boiling Water & Vent Bubbles
-
Carefully ladle boiling water over the packed carrots, maintaining 1 inch of headspace from the rim.
-
Slide a non-metallic bubble remover tool down the inside edge of the jar, gently pressing inward to release trapped air bubbles.
-
Re-check headspace after removing bubbles and adjust liquid level with extra boiling water if needed.
-
Wipe the rim of each jar with a damp paper towel to clean off any starch or salt residue.
-
Place the lid flat on top and adjust the screw band until fingertip-tight (do not over-tighten).
Step 5: Pressure Canning Process
-
Lower packed jars into the preheated pressure canner using your jar lifter.
-
Secure the canner lid into place, leaving the vent pipe uncovered.
-
Set burner heat to High. Allow steam to vent continuously from the vent pipe for 10 full minutes to purge all air from the vessel.
-
Place the weighted gauge or close the petcock.
-
Allow pressure to rise until the gauge reads 11 PSI (dial) or the weight jiggles consistently (10 PSI weighted).
-
Adjust heat intensity to Medium / Medium-High to maintain a steady, continuous pressure.
-
Set timer and process pint jars for 20 minutes (25 minutes for quart jars).
Step 6: Depressurization and Cooling
-
Once processing time is complete, turn off the heat source entirely.
-
Do not force-cool the canner. Allow the pressure to return naturally to 0 PSI on its own (takes 30–45 minutes).
-
After pressure returns to zero, carefully remove the weight/vent cover, wait 10 minutes, unlock the lid, and tilt it away from your face to avoid steam burns.
-
Lift jars straight up without tilting and place them onto a clean towel-lined countertop with 1 inch of space between each jar.
-
Allow jars to sit undisturbed for 12 to 24 hours to cool completely.
Quality Testing & Final Storage
After 12 to 24 hours, inspect each jar for proper sealing:
-
Press down on the middle of the lid. If it is firm and doesn’t pop or spring back, it has formed a vacuum seal.
-
Remove screw bands, wipe down jars, label with the recipe name and processing date.
-
Store properly sealed jars in a cool, dry, dark pantry. Sealed canned carrots retain optimal quality and flavor for 12 to 18 months.
Nutritional Information
Nutrition values are estimated per 1 pint jar yield (~1 cup drained serving).
| Nutrient | Amount Per Serving | % Daily Value |
| Calories | 70 kcal | — |
| Total Fat | 0.3 g | 0% |
| Saturated Fat | 0.05 g | 0% |
| Sodium | 1,180 mg | 51% |
| Total Carbohydrates | 16 g | 6% |
| Dietary Fiber | 4.8 g | 17% |
| Sugars | 8 g | — |
| Protein | 1.5 g | 3% |
| Vitamin A | 1,070 mcg | 119% |
| Potassium | 530 mg | 11% |
| Calcium | 56 mg | 4% |