Prep time: 20 minutes
Cook time: 10-15 minutes
Total time: 35 minutes
Yield: 4 servings
Introduction
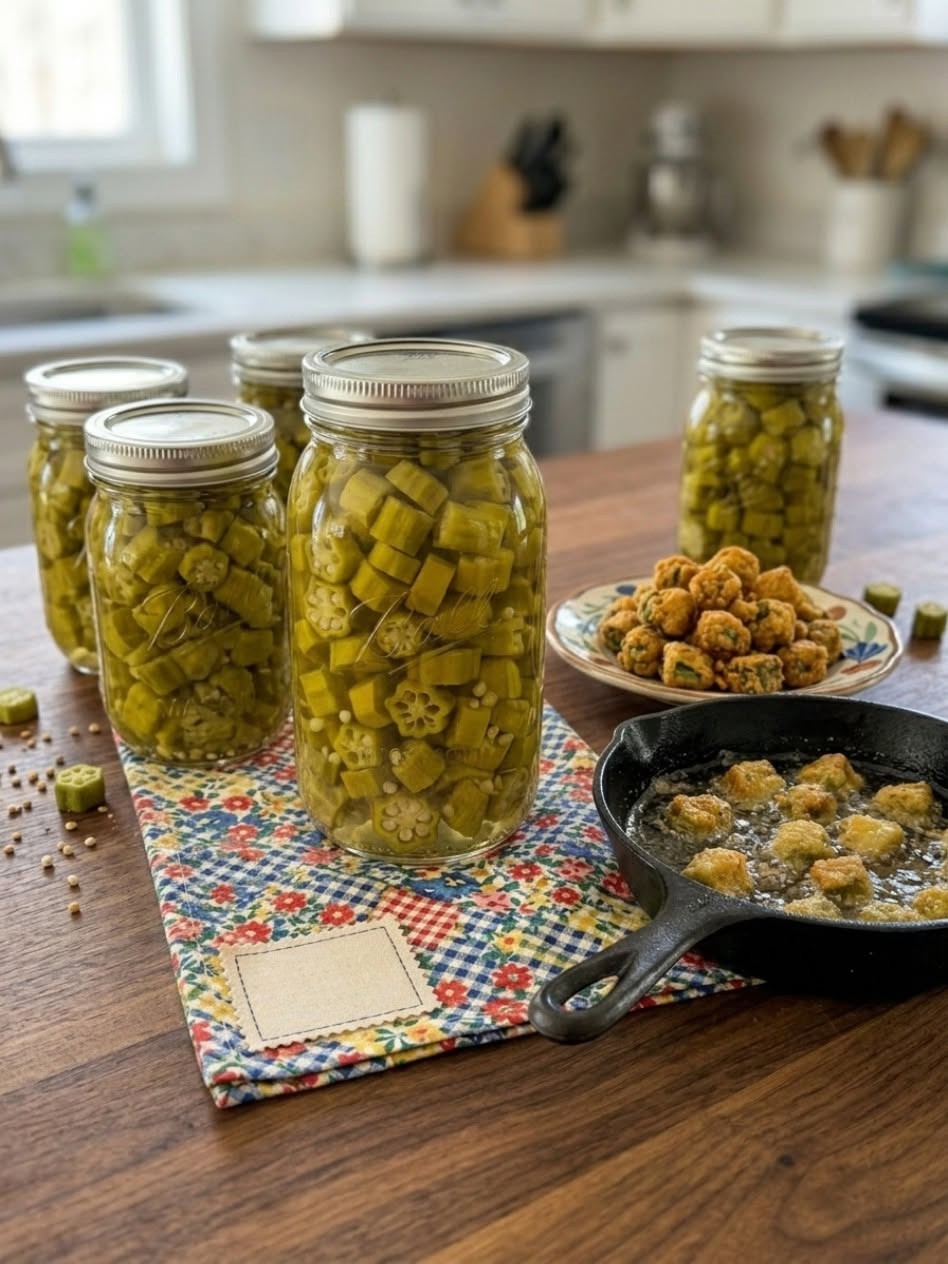
Canned okra often gets a bad reputation. Between the texture and the reputation for being “slimy,” many home cooks shy away from it. However, with the right technique, canned okra can be transformed into a delicious, crispy treat that rivals fresh okra! The key is removing the excess moisture and using a robust breading system.
This recipe is perfect for a quick appetizer, a side dish for dinner, or even a topping for salads. Whether you are looking to save money, use up pantry staples, or simply try a new way to enjoy okra, this recipe will guide you through the process of turning canned goods into a crunchy masterpiece.
Ingredients
For the Okra:
-
2 (14.5 oz) cans of cut okra (or whole okra, sliced into rounds)
-
1 cup buttermilk (or 1 cup milk mixed with 1 tbsp lemon juice)
-
1 large egg
For the Breading:
-
1 cup yellow cornmeal
-
1/2 cup all-purpose flour
-
1 tsp garlic powder
-
1 tsp onion powder
-
1/2 tsp smoked paprika
-
1/2 tsp salt (adjust to taste)
-
1/4 tsp black pepper
-
1/4 tsp cayenne pepper (optional, for heat)
For Frying:
-
Vegetable oil or peanut oil (enough for deep frying, roughly 2-3 inches in a deep pot)
For Serving (Optional):
-
Lemon wedges
-
Sea salt flakes
-
Your favorite dipping sauce (Ranch, Remoulade, or spicy mayo)
Equipment
-
Colander
-
Paper towels
-
Deep fryer or heavy-bottomed pot (like a Dutch oven)
-
Candy/Deep-fry thermometer
-
Slotted spoon or spider strainer
-
Wire cooling rack
-
Mixing bowls (2)
Instructions
Step 1: The Critical Drain (10 minutes)
The most important step in this recipe is removing moisture. Canned okra is packed in liquid; if you fry it wet, it will steam, not crisp, and the breading will slide off.
-
Open your cans of okra and pour them into a colander.
-
Rinse the okra thoroughly under cold running water to remove the “canned” flavor and excess sodium.
-
Shake the colander vigorously to remove excess water.
-
Spread the okra out on a layer of paper towels. Place another layer of paper towels on top and press down gently.
-
Pro Tip: Let the okra sit on the paper towels for at least 10 minutes while you prepare the breading station. The drier the okra, the crispier the final product.
Step 2: Prepare the Breading Station
Set up two shallow bowls or pie plates.
-
Wet Mix: In the first bowl, whisk together the buttermilk and the egg until smooth.
-
Dry Mix: In the second bowl, combine the cornmeal, flour, garlic powder, onion powder, smoked paprika, salt, black pepper, and cayenne pepper. Whisk until evenly distributed.
Step 3: Heat the Oil
-
Pour your frying oil into a deep pot or deep fryer. You want about 2 to 3 inches of oil.
-
Heat the oil over medium-high heat until it reaches 350°F (175°C) . Use a thermometer to maintain this temperature. If the oil is too cool, the okra will be greasy; if it is too hot, the outside will burn before the inside is hot.
Step 4: Bread the Okra
-
Take a handful of the dried okra and toss it in the buttermilk/egg mixture. Ensure each piece is coated.
-
Using a fork or your fingers, transfer the wet okra to the dry cornmeal mixture.
-
Toss the okra in the dry mix until it is well coated. Press the coating gently onto the okra to ensure it adheres.
-
Important: Do not overcrowd the bowls. Work in small batches.
-
Place the breaded okra on a wire rack or a plate lined with parchment paper while you finish the rest of the batch.
Step 5: The Fry (10-15 minutes total)
-
Carefully lower a batch of the breaded okra into the hot oil using a slotted spoon. Do not drop them from high up (to avoid splashing).
-
Intensity/Fry Time: Fry for 2 to 3 minutes, or until they are golden brown and floating.
-
Note: Because canned okra is already cooked and softened, you are really just cooking the breading. It cooks fast!
-
Remove the okra from the oil using a slotted spoon or spider strainer.
-
Transfer to a wire cooling rack (do not use paper towels directly under the hot okra, as it will steam and soften the crust).
Step 6: Season and Serve
-
Immediately sprinkle the hot okra with a pinch of sea salt flakes.
-
Serve hot with lemon wedges and your favorite dipping sauce.
Recipe Timing and Intensity
-
Prep Intensity: Low to Medium. The most labor-intensive part is drying the okra, which requires patience.
-
Cooking Intensity: High. Deep frying requires your full attention to monitor oil temperature and prevent burning. You cannot walk away.
-
Time Breakdown:
-
0:00 – 0:10: Draining and drying okra.
-
0:10 – 0:15: Preparing breading and heating oil.
-
0:15 – 0:30: Breadng the okra (hands-on).
-
0:30 – 0:35: Frying the batches (active).
-
Nutritional Information (Per Serving)
Disclaimer: Nutritional values are estimates and will vary based on the specific brands of canned okra used, the oil absorption rate, and exact portion sizes.
-
Calories: 280 kcal
-
Total Fat: 12g (Saturated Fat: 2g)
-
Cholesterol: 50mg
-
Sodium: 600mg (Varies greatly based on canned okra brand; rinse well to reduce)
-
Total Carbohydrates: 36g
-
Dietary Fiber: 4g
-
Sugars: 3g
-
Protein: 6g
-
Vitamin C: 15% DV
-
Calcium: 10% DV
-
Iron: 15% DV