| Prep Time | 20 minutes |
| Soaking Time | 0 minutes (Raw Pack Method) |
| Processing Time | 75 mins (Pints) / 90 mins (Quarts) |
| Total Active Time | 2 hours 15 minutes |
| Intensity / Skill Level | Intermediate (Requires Pressure Canner Operations) |
| Yield | 7 Pint Jars (or 3-4 Quart Jars) |
| Shelf Life | 12–18 months in a cool, dark pantry |
Equipment Required
-
Pressure Canner (weighted-gauge or dial-gauge)
-
7 Pint Mason Jars (or 4 Quart Jars) with fresh lids and bands
-
Jar Lifter
-
Canning Funnel & Bubble Remover Tool
-
Clean Cloth / Paper Towels & White Vinegar (for wiping rims)
Ingredients
-
2 pounds (900g) Dried Pinto Beans (sorted, rinsed, and thoroughly washed)
-
3.5 teaspoons Canning & Pickling Salt (1/2 tsp per pint jar; non-iodized)
-
Boiling Water (approx. 3–4 quarts)
-
Optional Flavorings: 1/2 tsp garlic powder per jar, or a small piece of rendered salt pork / dried chili per jar.
Step-by-Step Instructions
1. SORT & RINSE  ──► 2. SANITIZE JARS ──► 3. PACK RAW BEANS ──► 4. ADD BOILING WATER
                                                                        │
8. COOL & STORE  ◄── 7. PROCESS CANNER ◄── 6. VENT CANNER   ◄── 5. SEAL JARS
1. Bean & Jar Preparation
-
Sort and Clean Beans: Spread the dried pinto beans out on a flat surface or baking sheet. Remove any small stones, split beans, or debris. Rinse the sorted beans thoroughly in cold water inside a colander.
-
Prepare the Canner & Jars: Clean your mason jars, lids, and bands in warm, soapy water. Keep the jars warm in hot water until ready to fill to prevent thermal shock when adding boiling liquid. Add 2 to 3 inches of water into your pressure canner and set it on low heat to warm up.
2. Jar Packing & Headspace Management
-
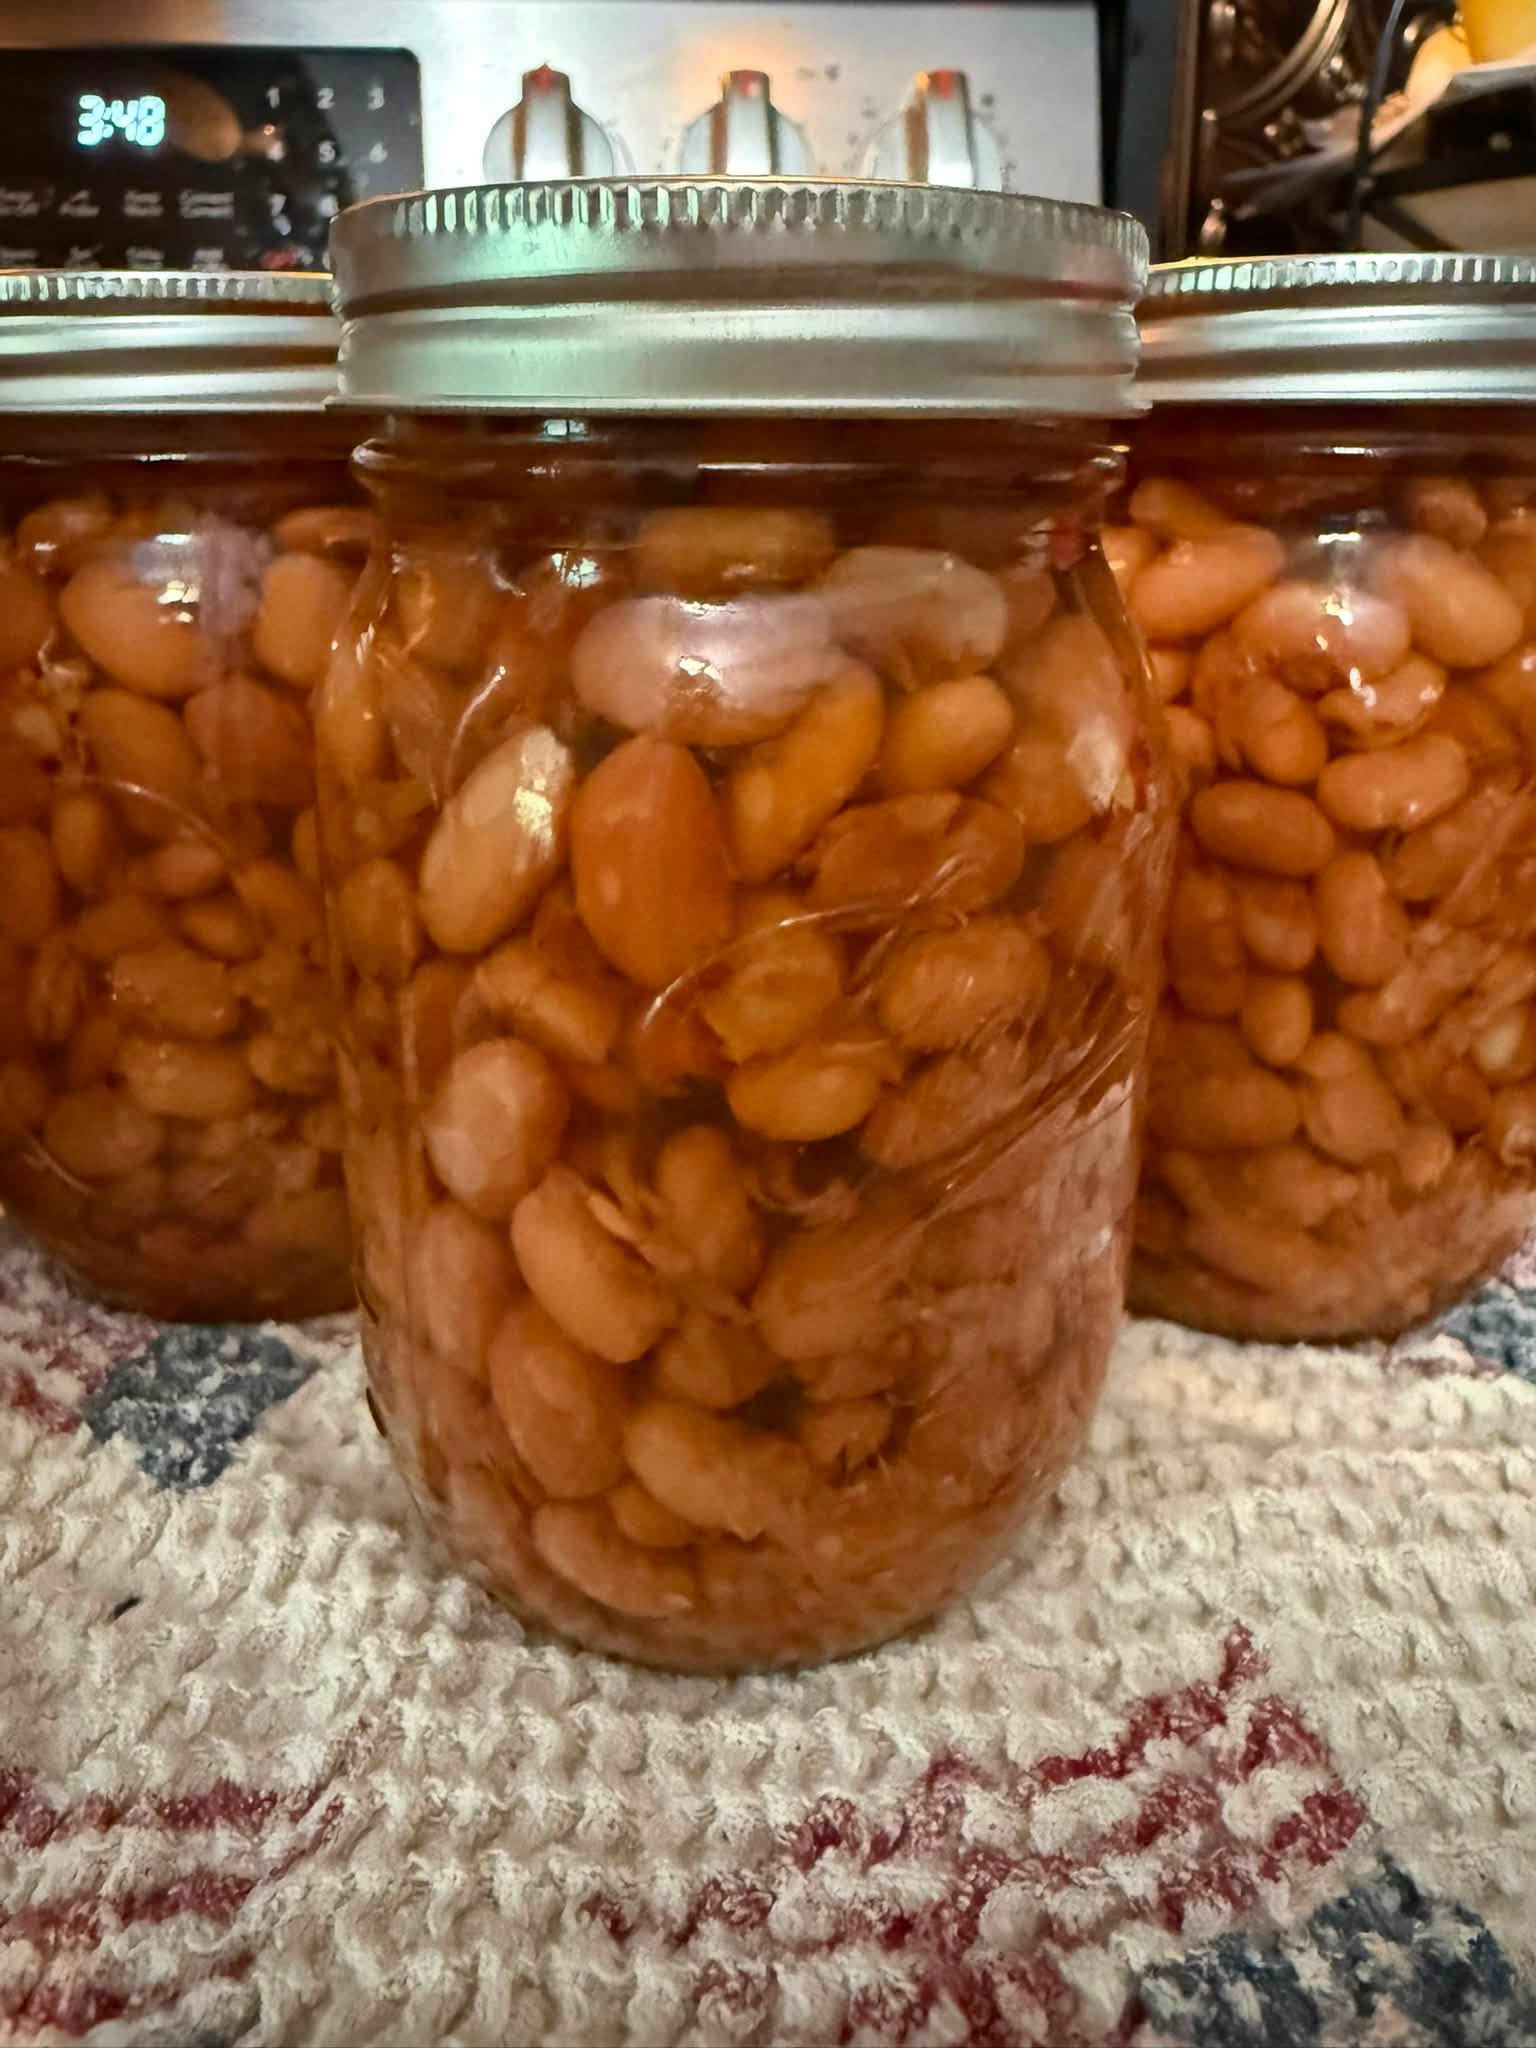
Pack the Raw Beans: Place your warm pint jars on a clean towel. Add exactly 1/2 cup of raw, dried pinto beans into each pint jar (use 1 cup for quart jars). Do not add more beans than specified, as they expand dramatically during pressure cooking.
-
Add Salt and Seasoning: Add 1/2 teaspoon of canning salt to each pint jar (1 teaspoon for quart jars).
-
Fill with Boiling Water: Ladle fresh boiling water into each jar using your canning funnel, leaving 1 inch of headspace at the top.
-
Remove Air Bubbles: Slide a non-metallic bubble remover tool or silicone spatula around the inside walls of each jar to release trapped air bubbles. Adjust the water level if needed to maintain 1 inch of headspace.
3. Wiping Rims and Adjusting Lids
-
Sanitize Rims: Dip a paper towel in plain white vinegar and wipe the outer glass rim and threads of each jar thoroughly. Vinegar dissolves any bean dust or mineral deposits that could compromise the seal.
-
Apply Lids & Bands: Center a clean lid over each jar. Screw the metal ring band down until fingertip tight (do not overtighten, as air must escape during processing).
4. Pressure Canning Process
-
Load Canner: Using a jar lifter, place the filled jars upright into the warm pressure canner. Lock the canner lid into position.
-
Vent Steam: Turn heat to medium-high. Allow steam to vent continuously from the vent pipe/petcock for 10 full minutes before applying the weight or closing the valve.
-
Bring to Pressure: Place the weighted gauge or allow pressure to build. Target pressure based on your equipment and altitude:
-
Weighted Gauge: 10 lbs pressure (15 lbs if above 1,000 feet altitude).
-
Dial Gauge: 11 lbs pressure (adjust upwards according to local altitude charts).
-
-
Process Duration:
-
Pint Jars: Process for 75 minutes.
-
Quart Jars: Process for 90 minutes.
-
Maintain consistent heat throughout. If pressure dips below target at any point, restart the processing timer from zero.
-
5. Natural Depressurization & Cooling
-
Cool Naturally: Once timer completes, turn off the burner. Allow the pressure canner to cool down and depressurize completely on its own. Never force-cool a canner, as rapid pressure drops siphons liquid out of the jars and ruins seals.
-
Unload Jars: Once the pressure gauge reads zero and the safety lock drops, carefully remove the lid away from your face. Use a jar lifter to remove the jars without tilting them. Place them upright on a towel-lined counter, leaving 1–2 inches of space between jars.
-
Rest: Allow jars to cool undisturbed for 12 to 24 hours. You will hear a distinct “ping” as the lids contract and form a vacuum seal.
Quality Control & Storage Checks
-
Test Seals: After 24 hours, press the center of each lid. If it is flat and does not flex up and down, the jar is properly sealed. Remove the screw bands.
-
Storage: Wipe down jar surfaces, label with the processing date (“Pinto Beans – [Date]”), and store in a cool, dry, dark location. Unsealed jars must be refrigerated immediately and consumed within 5 days.
Detailed Nutritional Profile
Serving Size: 1/2 Cup (130g) Home Canned Pinto Beans (Rinsed)
| Nutrient | Amount per Serving | % Daily Value* |
| Calories | 110 kcal | — |
| Total Fat | 0.5 g | < 1% |
| Saturated Fat | 0.1 g | 0% |
| Trans Fat | 0 g | — |
| Cholesterol | 0 mg | 0% |
| Sodium | 320 mg (120 mg if rinsed) | 14% |
| Total Carbohydrates | 20 g | 7% |
| Dietary Fiber | 8 g | 29% |
| Total Sugars | 1 g | — |
| Protein | 7 g | 14% |
| Iron | 1.8 mg | 10% |
| Potassium | 370 mg | 8% |
| Folate | 147 mcg | 37% |
| Magnesium | 43 mg | 10% |