-
Prep Time: 15 minutes (Intensity: 2/5)
-
Soak Time: 8-12 hours (Overnight) or 1 hour (Quick Soak)
-
Cook Time (Simmering): 30 minutes (Intensity: 2/5)
-
Canning Time: 75 minutes for pints, 90 minutes for quarts (Intensity: 4/5 – Requires focus during pressurization and timing)
-
Total Time: Approximately 3 hours (excluding soak time)
Instructions
Phase 1: The Soak (The Foundation)
The night before you plan to can, or early in the morning, place your dried beans in a large bowl or pot. Cover them with cold water by at least 3 inches, as they will expand significantly. Let them soak for 8 to 12 hours.
Alternative Quick Soak: If you are short on time, place the beans in a large pot, cover with water, and bring to a rolling boil. Boil for 2 minutes, then remove from heat, cover, and let stand for 1 hour.
Phase 2: The Simmer (The Flavor Infusion)
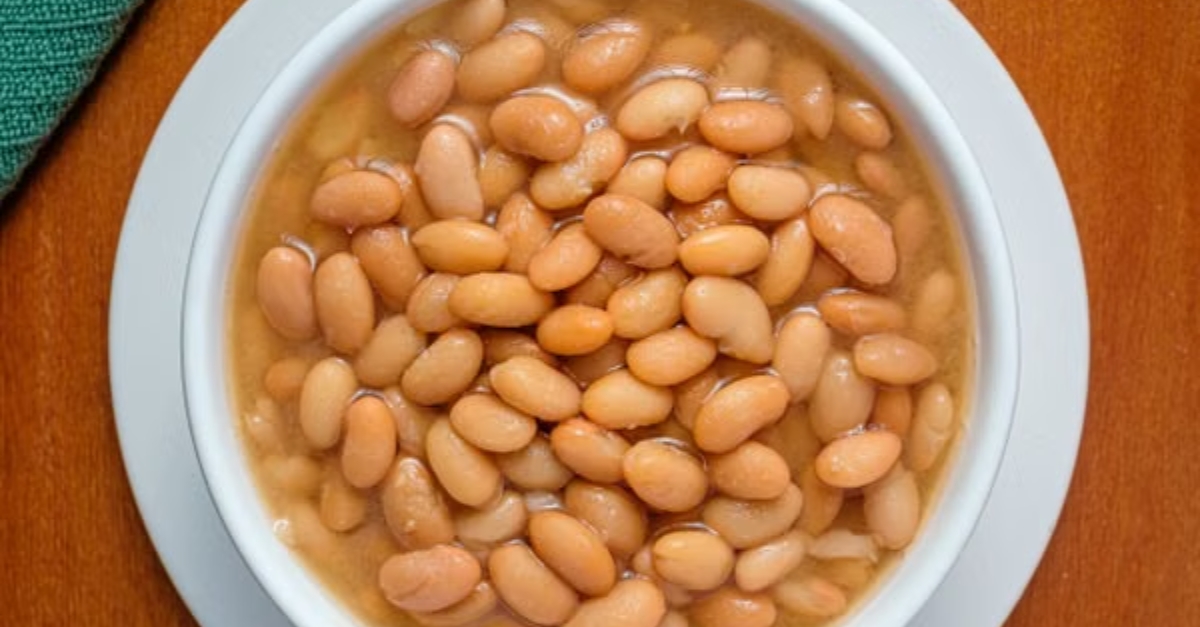
Drain and rinse your soaked beans thoroughly. Return them to the large pot and cover with fresh, cold water by about 2 inches. Bring the pot to a boil over high heat, then reduce the heat to a simmer. Simmer for 30 minutes. This step is crucial; it ensures the beans are partially cooked and have absorbed water, which is essential for the pressure canning process to work safely. Do not fully cook them—they should still be slightly firm.
Phase 3: Preparing the Jars (The Assembly)
While the beans are simmering, wash your jars in hot, soapy water and keep them hot. Prepare your lids according to the manufacturer’s instructions (usually simmering them in a small pot of water, not boiling). Start heating the water in your pressure canner according to its manual.
Using a slotted spoon, fill each hot jar with the hot, partially cooked beans. Leave a generous 1 inch of headspace at the top of the jar. This headspace is critical for expansion during processing.
Add your salt (1 tsp for pints, 2 tsp for quarts) and any optional aromatics to each jar. Do not add the cooking liquid yet. Fill the jars with fresh, boiling water, leaving that 1-inch headspace.
Use your bubble popper or a thin spatula to remove any air bubbles trapped between the beans. Wipe the rims of the jars with a clean, damp cloth. Place the lid and ring on each jar, tightening it to “fingertip tight” (just until you feel resistance).
Phase 4: The Pressure Canning (The Science)
Load the jars into your pressure canner according to the manufacturer’s instructions (usually on a rack, not touching the bottom). Follow your canner’s manual for the correct amount of water and venting process.
Once the canner is vented and sealed, bring it to pressure. Process pints for 75 minutes and quarts for 90 minutes at the pressure specified for your altitude (usually 10 pounds of pressure for altitudes under 1,000 feet).
Intensity Note: This is the most crucial part. You must monitor the pressure gauge and adjust your stove’s heat to maintain a steady pressure. Fluctuations can compromise the seal.
Phase 5: The Rest (The Final Step)
When the time is up, turn off the heat and let the canner cool completely. Do not try to rush this by venting steam. Once the pressure has dropped to zero and the lid is safe to open, remove the jars using your jar lifter. Place them on a towel on the counter, spaced apart.
Let the jars sit undisturbed for 12 to 24 hours. You will likely hear the delightful “ping” of the lids sealing. After 24 hours, check the seals by pressing down on the center of each lid. If it is concave and does not move, the jar is sealed. Remove the rings for storage, wipe the jars clean, and label them.
Finishing Touch: The Quick Bean Dip
While you wait for your jars to seal, you might have a few extra beans left over. Use them to make a quick, fresh bean dip.
Ingredient for the Dip:
-
1 cup of your freshly cooked warm beans
-
1 clove of garlic
-
1 tablespoon of olive oil
-
1 tablespoon of lemon juice
-
Pinch of cumin
-
Salt and pepper to taste
Intensity: 1/5
Time: 2 minutes
Method: Combine all ingredients in a small food processor or blender. Pulse until smooth. Taste and adjust seasoning. Serve immediately with tortilla chips or crusty bread. This is the perfect reward for your canning efforts.
Nutrition Information
Nutritional information is estimated per 1/2 cup serving of canned beans (based on the beans alone, without added salt or aromatics, as these are variable).
-
Calories: 110-120 kcal
-
Protein: 7g
-
Carbohydrates: 20g
-
Dietary Fiber: 6g (Excellent source of fiber)
-
Sugars: 1g
-
Fat: 0.5g
-
Sodium: 5mg (This is very low because you control the salt. Store-bought canned beans can have 300-500mg per serving.)
-
Potassium: 350-400mg (Important for blood pressure regulation)
-
Iron: 10-15% of the Daily Value (DV)
-
Folate: 15-20% of the DV