
PREP TIME: 10 Minutes
COOK TIME: 5 Minutes
PICKLING TIME: 2 Hours (Minimum) to 24 Hours (Optimal)
TOTAL TIME: 2 Hours 15 Minutes
INTENSITY LEVEL: Beginner / Low Effort
Introduction
There is a moment in every meal—whether it’s a heavy BBQ platter, a spicy bowl of ramen, or a simple grilled cheese—where you need a palate cleanser. You need something sharp, acidic, and audibly crunchy to cut through the richness. Enter the Pickled Radish Slice.
While you might be familiar with the bright pink or yellow chunks served at Mexican taquerias or the fermented danmuji found in Korean cuisine, this recipe focuses on a quick, refrigerator-style pickle. These slices retain their snap and offer a beautiful balance of sweet, salty, and sour notes. They are the unsung hero of the condiment world.
This recipe is designed for speed and versatility. Using a “quick pickle” method (also known as refrigerator pickles), we bypass the canning process, meaning you can go from raw vegetable to finished condiment in about two hours. Let’s get slicing.
Ingredients
The Vegetables:
-
1 lb (450g) Radishes: Daikon is the traditional choice for a mild, crunchy texture, but Red Globe, Watermelon radishes, or French Breakfast radishes work beautifully. If using small radishes, slice them thin; if using Daikon, cut into ¼-inch thick rounds or half-moons.
-
Optional: ½ small red onion, thinly sliced (for color and extra zing).
The Brine:
-
1 cup (240ml) Water: Filtered is best for clarity.
-
1 cup (240ml) Vinegar: White distilled vinegar provides the sharpest bite. Apple cider vinegar adds a fruity note. Rice vinegar is milder and more authentic to Asian cuisine.
-
1 cup (200g) Granulated Sugar: You can reduce this to ¾ cup if you prefer a less sweet pickle.
-
1 tablespoon Kosher Salt: Do not use iodized table salt, as it can make the brine cloudy.
The Aromatics (Flavor Profile):
-
1 teaspoon Black Peppercorns: Whole.
-
2 cloves Garlic: Smashed but left whole.
-
1 Bay Leaf.
-
Optional: 1 teaspoon Mustard Seeds, ½ teaspoon Red Pepper Flakes (for heat), or 1 star anise (for a licorice note).
Equipment:
-
1 Medium Saucepan.
-
1 Clean 1-Pint Mason Jar (or two smaller jars).
-
Sharp Knife or Mandoline Slicer.
Instructions
Step 1: Prepare the Radishes (Intensity: Low)
Wash your radishes thoroughly. If you are using Daikon, peel the skin (it can be tough). If you are using red radishes, you can leave the skin on for color contrast.
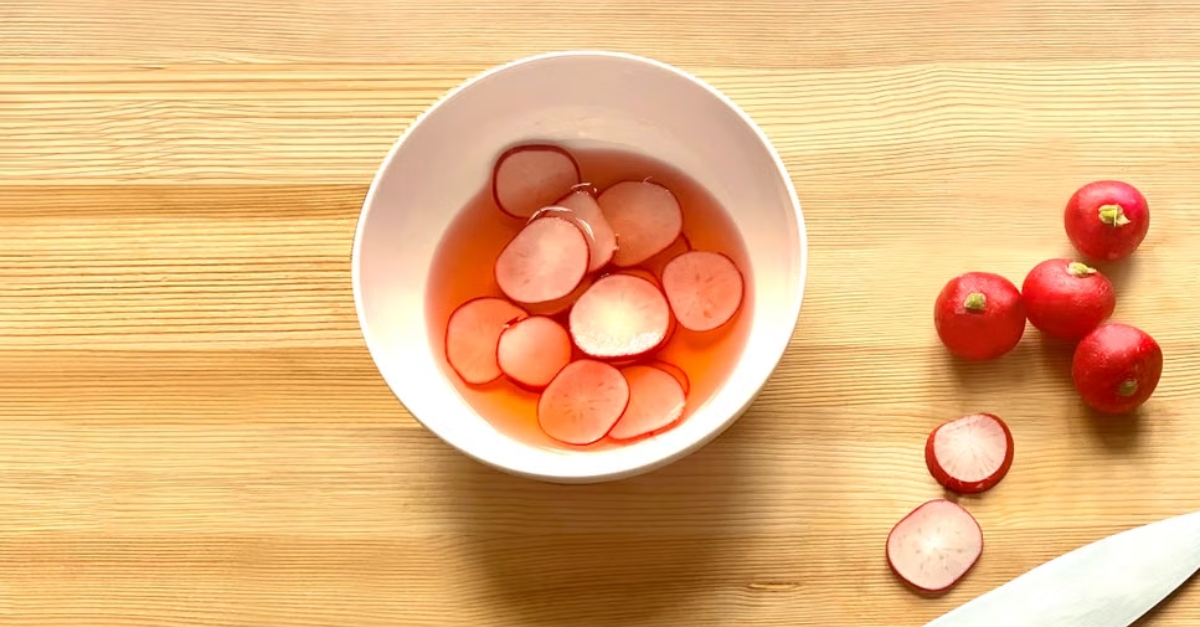
Slice the radishes into uniform ⅛-inch to ¼-inch rounds. If you have a mandoline slicer, this is the time to use it—uniformity ensures even pickling. If you are using large Daikon radishes, slice them into half-moons or quarters so they fit on a fork. Place the sliced radishes (and onions, if using) into your clean Mason jar.
Step 2: Create the Brine (Intensity: Low)
In your saucepan, combine the water, vinegar, sugar, and salt. Place over medium-high heat. Stir gently until the sugar and salt dissolve completely. You do not need to boil the mixture vigorously; you just want it hot enough to dissolve the granules. This usually takes about 3 to 5 minutes. Once the liquid is clear (no visible grains), remove from heat.
Step 3: Add the Aromatics
While the brine is hot, add your garlic, peppercorns, bay leaf, and any optional spices directly into the jar with the radishes.
Step 4: The Pour
Carefully pour the hot brine over the radishes in the jar. Use a funnel if you have one to avoid spills. Ensure the liquid covers the radishes completely. If the radishes float, you can weigh them down with a clean, small glass or a fermentation weight, but usually, they stay submerged.
Step 5: Cool and Store
Let the jar sit on the counter until it reaches room temperature (about 30 to 45 minutes). Once cooled, screw on the lid and transfer to the refrigerator.
The “When” (Timing and Patience)
This is the most critical part of the recipe: The Wait.
-
Phase 1: The Blush (2 Hours). At this point, the radishes have absorbed the salt and sugar. They will taste like salty, crunchy vegetables with a hint of vinegar. This is fine for a last-minute snack, but not optimal.
-
Phase 2: The Pickle (12 Hours). Overnight is the sweet spot. The radishes will have absorbed the brine fully. The sharpness of the vinegar will have mellowed, and the sweetness will be balanced.
-
Phase 3: The Deep Pickle (3-5 Days). The flavor becomes profound. The radishes will become slightly softer (though still crunchy) and the brine will penetrate to the core.
Storage: These pickles will last in the refrigerator for up to 1 month. Always use a clean fork to remove them to prevent contamination.
Service Suggestions
These Pickled Radish Slices are culinary chameleons. Here is how to use them:
-
Tacos: The classic pairing. Serve with carnitas or barbacoa.
-
Sandwiches: Layer them on a banh mi or a simple turkey club for a crunch factor.
-
Cheese Boards: Their acidity cuts through rich brie or aged cheddar perfectly.
-
Rice Bowls: Chop them up and fold into a bowl of steamed rice and soy sauce for a quick lunch.
-
Salads: Use them as a garnish for heavy grain salads to add brightness.
Nutrition Facts
Disclaimer: The nutritional information below is an estimate. The actual values will depend on the specific type of radish used and how much of the brine is consumed. Since the brine is typically discarded, the sugar content is often lower than calculated.
Serving Size: ¼ Cup (approx. 30g)
Servings Per Recipe: 8
-
Calories: 35
-
Total Fat: 0g (0% DV)
-
Sodium: 320mg (14% DV)
-
Total Carbohydrates: 8g (3% DV)
-
Dietary Fiber: 1g (4% DV)
-
Sugars: 7g
-
-
Protein: 0g
-
Vitamin C: 10% DV
-
Calcium: 2% DV
-
Iron: 2% DV